Manual aerotriangulation
Digi3D.AI lets you measure aerotriangulation manually.
The program automatically numbers the points to measure and locates them by correlation. If correlation locates a point correctly, you only need to confirm the automatic measurement.
Aerotriangulation theory is beyond the scope of this manual. If you lack technical knowledge of aerotriangulation, consult a photogrammetry textbook.
Aerotriangulation measurement in Digi3D.AI consists of measuring points distributed throughout the project. The process is:
- Find a location where you can measure a point.
- Assign the point a name.
- Measure it in every model where it appears.
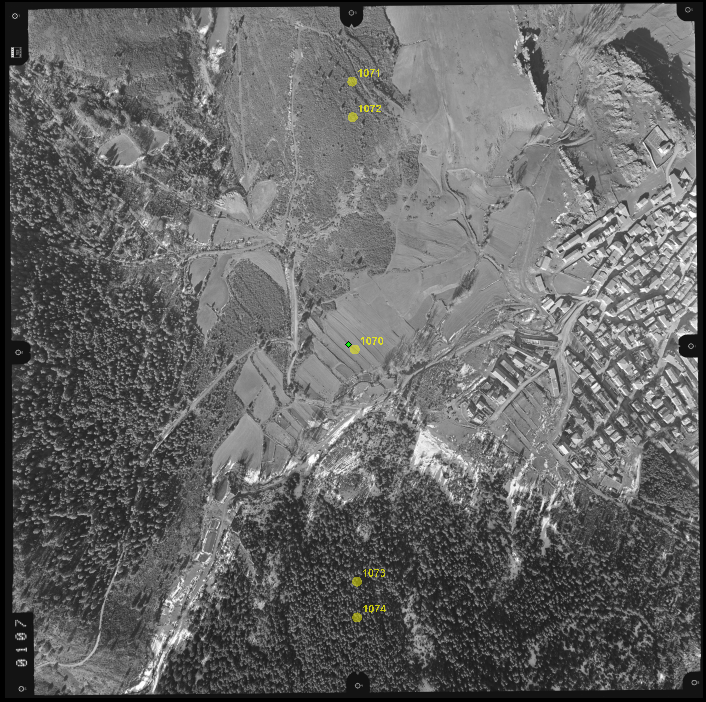
If the project consists of several strips forming a block, measure at least three points per photo. If it consists of one strip, or several strips with only one model overlapping between strips (for example a road corridor), measure at least 5 points per photo. In a project with a single strip or only one overlapping model between strips, measuring only three points per photo can produce a split in the calculation if a measurement is incorrect. This may go undetected when analyzing the aerotriangulation adjustment program's results.
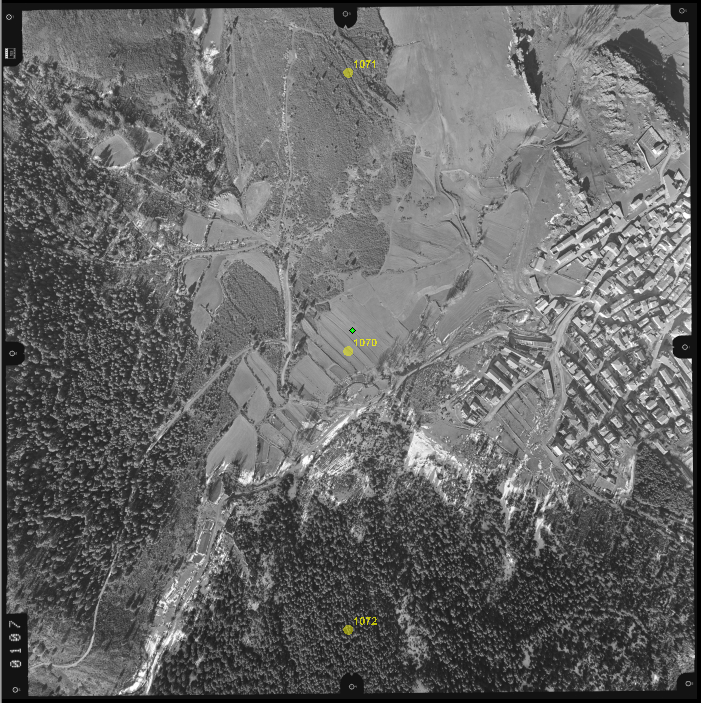
The following image shows the approximate point locations when measuring three points per photo:
The following image shows the approximate point locations when measuring five points per photo:
Measure points in every model they fall within. For example, if point 1070 overlaps both model 107-108 and model 108-109, measure it in both.
You cannot assign the same name to two different points. A common convention is therefore to combine the name of the photo contributing the point with an identifier for the point within that photo.
For the three-point example above, number the points as follows:
| Point name | Point location |
|---|---|
| 107 + 0 = 1070 | Center of photo 107 |
| 107 + 1 = 1071 | Top of photo 107 |
| 107 + 2 = 1072 | Bottom of photo 107 |
With this numbering, point 1092 is contributed by photo 109 and located at the bottom of photo 109.